


How to Arrange Custom Gang Sheets: A Step-by-Step Guide

Table of Contents
- Understanding Gang Sheet Basics and Your Canvas Size
- How to Prepare Files for DTF Printing
- Best Software for DTF Gang Sheets
- Step-by-Step Process for Arranging Custom Gang Sheets
- Optimising Space on DTF Gang Sheets
- Common Mistakes to Avoid When Arranging Gang Sheets
- Exporting and Preparing Your Gang Sheet for Production
- Conclusion
Last Updated: August 23, 2026
Understanding Gang Sheet Basics and Your Canvas Size
A gang sheet combines multiple designs into one organised layout for batch production on a heat press or DTF printer. Rather than printing designs individually, you nest them together to maximise efficiency and reduce material waste.
Canvas size directly impacts how many designs fit and how much substrate you'll use. Common dimensions range from A4 (210 × 297 mm) for smaller orders to A3 (297 × 420 mm) or larger, depending on your equipment. Match your canvas dimensions to your heat press bed size and transfer film width, designs extending beyond your equipment's capacity will fail before reaching the customer.
Gang sheet arrangement requires precision. Every millimetre counts. Designs must sit at correct DPI resolution, maintain proper spacing to prevent ink bleed during DTF transfer, and include bleed areas and cut lines for clean finishing. Poor arrangement wastes material, creates alignment issues, and results in damaged or misaligned transfers.
BB5wholesale's gang sheet builder handles much of this technical complexity automatically, but understanding the fundamentals helps you troubleshoot and optimise layouts before production.
How to Prepare Files for DTF Printing
Your artwork files must be print-ready: correct colour mode, resolution, file format, and saved with transparency where needed.
DTF printing uses CMYK colour mode, not RGB. If your designs come from graphic designers or stock libraries, they're likely in RGB (designed for screens). Converting RGB to CMYK shifts colours noticeably, reds darken, blues shift toward purple, greens dull down. Do this conversion in your design software before importing into your gang sheet layout. Ask BB5wholesale or your printer for their specific CMYK colour profile.
Resolution matters for print quality. Artwork should be at least 300 DPI for crisp transfers (peer-reviewed research). A 100 × 100 mm design at 300 DPI contains enough pixel information to print sharp (peer-reviewed research). Scale that same design to 200 × 200 mm without increasing DPI, and pixels stretch, creating blur. Raster images (photographs, illustrations) suffer most from low resolution. Vector graphics (logos, text, shapes) scale infinitely without quality loss.
File format determines how your design behaves in the gang sheet builder. PNG files preserve transparent backgrounds, essential for designs on coloured apparel without a white box around them. JPG files include a white background and don't support transparency. For DTF work, PNG is the right choice. Export vector artwork as PNG at 300 DPI rather than keeping it as AI or EPS, the gang sheet software needs a raster image it can position and scale.
Save files with clear, descriptive names: "Logo_Blue_300DPI.png" is far easier to locate than "Design_Final_v3.png". When arranging dozens of designs across multiple gang sheets, naming discipline saves hours of confusion.
Best Software for DTF Gang Sheets
The software you choose shapes how quickly you can arrange designs and how much control you have over the final layout.
Dedicated gang sheet builders, like BB5wholesale's integrated platform, automate spacing and alignment. You import designs, set parameters like minimum spacing and bleed area width, and the software handles nesting. This approach is fastest for high-volume production, arrange dozens of designs in minutes rather than hours. The trade-off is less granular control; you work within the software's logic rather than moving elements pixel-by-pixel.
General-purpose design software like Adobe Illustrator or CorelDRAW gives complete control but requires manual positioning. You place each design, measure spacing, add cut lines, and export the layout. This method takes longer but suits custom, one-off layouts where you need precise positioning or unusual arrangements.
Free or low-cost tools like Canva or GIMP work for basic layouts but lack precision features needed for professional DTF production. They don't enforce minimum spacing, make it difficult to add bleed areas correctly, and often export at incorrect DPI settings.
The best choice depends on your production volume. If you're arranging gang sheets weekly, a dedicated builder saves time and reduces errors. If you're doing occasional custom orders, learning your existing design software is often more practical.
Step-by-Step Process for Arranging Custom Gang Sheets
Arranging a gang sheet follows a logical sequence: import designs, position them with proper spacing, add production markers like cut lines and bleed areas, then export for printing.
Step 1: Import and Position Your Designs
Upload all designs you want on this gang sheet into your software. If using BB5wholesale's gang sheet builder, drag and drop PNG files directly into the canvas. The software displays each design at its actual size based on the file's pixel dimensions and DPI.
Position your largest or most important design first to anchor your layout. Smaller designs fill remaining space. Grouping designs by size makes the layout visually organised and easier to print. Designs of similar height align naturally, reducing awkward gaps.
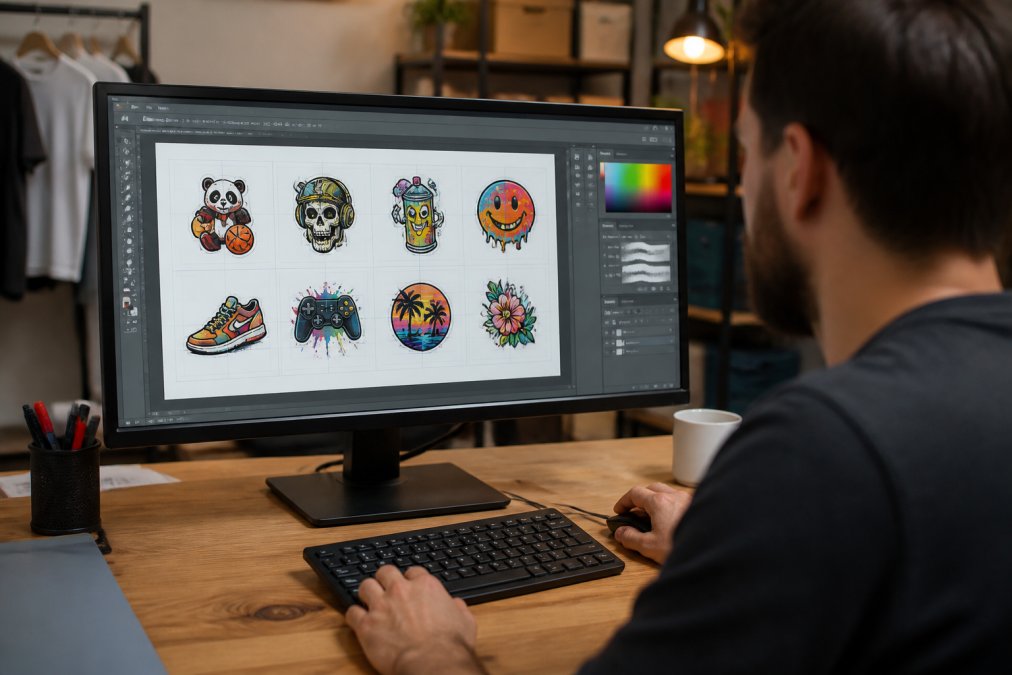
Leave at least 5-10 mm of space between designs. This gap prevents ink bleed during DTF transfer, when the transfer film passes through the heat press, slight movement or pressure variations can cause ink to spread beyond the design boundary. Designs sitting too close allow ink bleed from one design to smudge onto an adjacent one.
Step 2: Set Spacing and Alignment
Use your software's alignment tools to ensure even spacing. Most design software includes grid snapping, where designs automatically align to a grid when moved, eliminating uneven gaps.
Measure spacing between designs to confirm consistency. If your grid is set to 5 mm increments, every gap should be a multiple of 5 mm. Inconsistent spacing looks unprofessional and causes alignment problems during printing and cutting.
For designs needing individual cutting after printing, align them so cut lines run parallel to the edges of your transfer film. This makes cutting faster and more accurate during production.
Step 3: Add Cut Lines and Bleed Areas
Cut lines guide the production team or automated cutting equipment where to separate one design from another. Bleed areas are extra space beyond the visible design ensuring colour extends all the way to the edge after cutting, preventing white gaps around finished transfers.
Add a 2-3 mm bleed area around each design, extending the design (or adding background colour) 2-3 mm beyond where you want the final cut (printing.org). When cut, the blade removes the bleed area, leaving a clean edge with no white border.
Draw cut lines 2-3 mm beyond your design boundary. These are usually thin lines (0.25 mm stroke) in a contrasting colour like red or cyan, colours that won't print but show clearly on the transfer film for the cutting operator.
If using an automatic cutting system, the software reads these cut lines electronically and guides the blade. If cutting is done manually with a rotary cutter or knife, the operator follows the lines visually. Either way, clear, consistent cut lines prevent mistakes.
Optimising Space on DTF Gang Sheets
The goal of gang sheet arrangement is fitting as many designs as possible on a single sheet without compromising quality or creating production problems. This optimisation directly affects your cost per design and profitability.
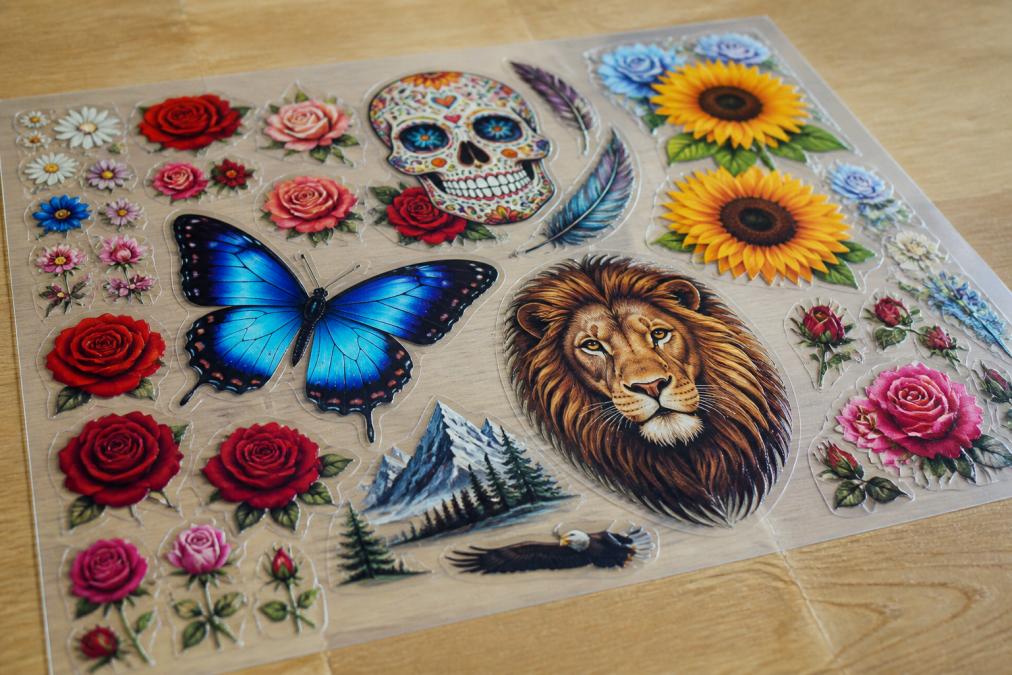
Nesting, fitting designs together like puzzle pieces, is the primary technique. Rather than arranging designs in a simple grid, you rotate and position them to fill gaps. A tall, narrow design might sit beside a wide, short design, with a small square design tucked into the corner. This approach uses 20-30% more of your available canvas compared to grid-based layouts.
Calculate your cost per square inch by dividing total transfer film cost by usable area. If paying £8 for a 300 × 400 mm sheet (186 square inches), your cost is roughly £0.04 per square inch. If designs occupy only 50% of that space, your effective cost per design doubles. Optimising to 75% coverage cuts that cost significantly.
However, don't sacrifice spacing for coverage. Designs sitting too close together cause production problems. Minimum safe spacing is 5 mm; 10 mm is better if your budget allows. Reducing spacing below 5 mm to fit one more design isn't worth the cost of ruined transfers.
Irregular shapes, silhouettes, and designs with transparent areas are harder to nest efficiently. Group them strategically. An irregular shape might fit perfectly in a gap between two rectangular designs. Rotating it 45 degrees might reveal a better fit. Spend a few extra minutes on nesting; it compounds across dozens of gang sheets.
Common Mistakes to Avoid When Arranging Gang Sheets
Most gang sheet problems stem from recurring mistakes. Knowing these pitfalls helps you catch issues before production.
Mixing DPI values across designs causes incorrect scaling. A 100 × 100 pixel design at 300 DPI prints at roughly 8 × 8 mm. The same design at 150 DPI prints at roughly 17 × 17 mm. Always standardise all designs to 300 DPI before importing.
Forgetting to convert RGB to CMYK results in colour shifts that disappoint customers. The vibrant red you see on screen becomes a darker, duller red on the transfer. Convert in your design software, not in the gang sheet builder.
Placing designs too close to the canvas edge causes them to print outside the transfer film boundary. Always leave at least 5 mm clearance from all edges.
Ignoring resolution until export results in blurry transfers. Always work at final resolution from the start, design software can't create pixel information that doesn't exist.
Using the wrong file format for export is less common but still happens. Exporting as JPG instead of PNG introduces compression artefacts and removes transparency. Check your export settings before finalising; PNG is almost always correct for DTF production.
Exporting and Preparing Your Gang Sheet for Production
Once your gang sheet is arranged and checked, export it in a format your printer or production partner accepts. Most DTF services accept PNG, PDF, or TIFF files at 300 DPI in CMYK colour mode.
Before exporting, flatten your design if your software uses layers. A flattened file merges all layers into a single image, eliminating the possibility of layers shifting during production.
Check the file size. A 300 × 400 mm gang sheet at 300 DPI in CMYK is roughly 3-5 MB. If your file is significantly larger, compression may have been applied, reducing quality. If much smaller, resolution may have been reduced.
Name your file descriptively and include the date: "GangSheet_A3_20260823_Batch01.png". This naming convention helps you track which version went to production and makes it easy to reorder the same layout later.
Upload your gang sheet to BB5wholesale or your chosen DTF provider through their secure platform. The 24/7 support team can review your file before production begins, catching any issues and offering suggestions for optimisation.
Keep a backup copy of your gang sheet file and the original design files. If a batch prints successfully, you'll want to reorder without redesigning. If there's a problem, you'll need the originals to troubleshoot.
Arranging custom gang sheets efficiently requires balancing precision with speed. Start with print-ready files in correct resolution and colour mode, use software matching your production volume, and follow a consistent process for spacing, cut lines, and bleed areas. The time invested in proper arrangement pays dividends through higher quality transfers, fewer reprints, and lower cost per design.
BB5wholesale's gang sheet builder automates much of this work, but understanding the principles behind each step helps you make better design decisions and troubleshoot when something doesn't look right. Upload your gang sheet through the platform, and the support team will review it before production, ensuring your designs print exactly as intended. Get started with BB5wholesale and transform your custom apparel production from time-consuming to simplified.
Frequently Asked Questions
How do I build my own gang sheet?
Start by gathering your artwork files in PNG format with transparent backgrounds. Import them into your chosen design software, then arrange designs on your canvas with appropriate spacing between each. Set cut lines around individual designs, add bleed areas for print quality, and ensure all artwork is in CMYK colour mode. Export as a print-ready file, most platforms allow you to download directly or send to production. Using a dedicated gang sheet builder simplifies this process significantly compared to manual arrangement.
What is the best software for arranging gang sheets?
The best software depends on your workflow and skill level. Adobe Illustrator and Photoshop offer professional control over design spacing, DPI settings, and export options. Canva provides a beginner-friendly interface with templates. Specialist gang sheet builders streamline the process by automating nesting, calculating optimal spacing, and generating print-ready files automatically. Many custom apparel businesses use dedicated tools because they reduce file preparation time and minimise common errors like incorrect DPI or colour mode.
How many prints fit on a gang sheet?
The number depends on your canvas size, design dimensions, and required spacing. A standard A3 sheet typically holds 6-15 designs, whilst larger formats accommodate 20 or more. Smaller designs with minimal spacing between them allow higher density; larger artwork or designs requiring substantial bleed areas reduce capacity. Use layout efficiency calculations to determine how many units you can fit whilst maintaining print quality and avoiding alignment issues during production.
How do I ensure high-quality resolution when arranging gang sheets?
Maintain artwork at 300 DPI minimum for professional print quality. Use vector graphics where possible, as they scale without quality loss. For raster images, ensure pixel dimensions support the final print size, avoid scaling small images up, which causes pixelation. Save files in PNG format with transparent backgrounds to prevent unwanted colour shifts. Before exporting, verify your file is in CMYK colour mode rather than RGB, as this ensures accurate colour reproduction on DTF transfers. Check your software's export settings to preserve resolution throughout the process.
This article was written using GrandRanker