


How to Create DTF Gang Sheets: Step-by-Step Guide

Table of Contents
- What Is a DTF Gang Sheet and Why You Need One
- Best Software for DTF Gang Sheets
- DTF Gang Sheet Size Guide and Resolution Standards
- DTF Transfer File Requirements for Print Quality
- Step-by-Step Process to Create Your DTF Gang Sheet
- Troubleshooting Common Gang Sheet Upload Errors
- DIY Gang Sheets vs Automated Gang Sheet Apps
- Conclusion
Last Updated: August 21, 2026
What Is a DTF Gang Sheet and Why You Need One
A DTF gang sheet is a single print file containing multiple designs arranged on one artboard, optimized for direct-to-film transfer production. Instead of printing each design individually, you consolidate dozens of designs onto one sheet, reducing ink waste and production time significantly.
The core value is efficiency. A gang sheet lets you batch-print related designs in one pass rather than running separate jobs. For Etsy sellers managing 10-15 orders monthly, this means fewer setup costs per order. For print shops handling high volume, gang sheets cut production overhead dramatically. A well-organised gang sheet means your printer spends less time troubleshooting placement issues and more time delivering quality transfers, resulting in faster turnaround, lower per-unit costs, and fewer errors that require reprints.
This matters whether you're a graphic designer outsourcing production, a small business owner managing custom orders, or a promotional product manager sourcing branded merchandise. The gang sheet is the foundation of efficient DTF workflow.
Best Software for DTF Gang Sheets
Two software options dominate gang sheet creation: Canva and Photoshop. Each has a different strength, and your choice depends on your design experience and production volume.
Creating Gang Sheets in Canva
Canva is the faster route for non-designers. You don't need to understand layers, colour profiles, or resolution settings, Canva handles much of that for you. Start by creating a custom-size artboard matching your gang sheet dimensions, import your designs, position them, and export as PNG. The process typically takes 30-45 minutes for a sheet with 12-20 designs.
The limitation is flexibility. Canva's export settings are simplified, which means less control over colour profiles and DPI metadata. For basic designs and smaller production runs, this is fine. Canva works best for small Etsy shops, event organisers creating one-off merchandise runs, and designers who prioritise speed over granular control.
Creating Gang Sheets in Photoshop
Photoshop is the professional choice. You have complete control over colour profiles, layer management, export compression, and DPI settings. A typical gang sheet takes 60-90 minutes if you're experienced.
Photoshop's strength emerges when troubleshooting quality issues or managing complex designs. If a transfer prints with colour banding or registration problems, Photoshop's tools let you diagnose and fix the root cause. Photoshop works best for print shop owners, professional graphic designers, and businesses where gang sheet quality directly impacts customer satisfaction.
DTF Gang Sheet Size Guide and Resolution Standards
Gang sheet dimensions depend on your printer's capabilities, but standard sizes cluster around A3 (297 × 420 mm) and similar formats. Confirm your printer's maximum artboard size before you design, oversizing means wasted film and rejected files.
Resolution is 300 DPI (dots per inch), the industry standard for print-ready files. For an A3 sheet at 300 DPI: 297 mm (3,508 pixels wide); 420 mm (4,961 pixels tall). File size typically lands between 80-150 MB for a full gang sheet at 300 DPI.
DTF Transfer File Requirements for Print Quality
Print quality hinges on three technical specifications: colour profile, file format, and transparency handling.
File format must be PNG. PNG preserves transparency (critical for gang sheets) and uses lossless compression (w3.org). JPG introduces artefacts and doesn't support transparency. Every design on your gang sheet needs a transparent background, not white or any other colour. Transparent backgrounds let the apparel show through, creating the illusion that the design is printed directly on the fabric.
Understanding Colour Profiles: CMYK vs RGB
RGB (red, green, blue) is what your monitor uses. DTF printers use CMYK (cyan, magenta, yellow, black) inks. The colour space mismatch means what you see on screen won't match what prints.
Convert your file to CMYK before exporting. In Photoshop, go to Image > Mode > CMYK. This remaps your colours to what the printer can actually produce. Some colours shift, bright RGB greens become duller in CMYK because printers can't reproduce pure RGB green. That's normal and expected.
Check your printer's colour profile requirements and match them exactly. A mismatch is one of the most common reasons for colour complaints.
Vector Graphics vs Raster Images
Vector graphics (created in Adobe Illustrator or similar) scale infinitely without quality loss. Raster images (photographs, painted artwork) are pixel-based and lose quality when enlarged.
For gang sheets, use vector graphics whenever possible. Logos, text, and geometric designs should be vectors. They print cleanly at any size and compress to tiny file sizes. Raster images must be 300 DPI at their final printed size. If you're printing a design, your raster image must have sufficient pixel dimensions for the intended print size at 300 DPI.
Step-by-Step Process to Create Your DTF Gang Sheet
Creating a gang sheet involves six core steps. Follow them in order and you'll avoid the most common mistakes.
Step 1: Set Up Your Artboard
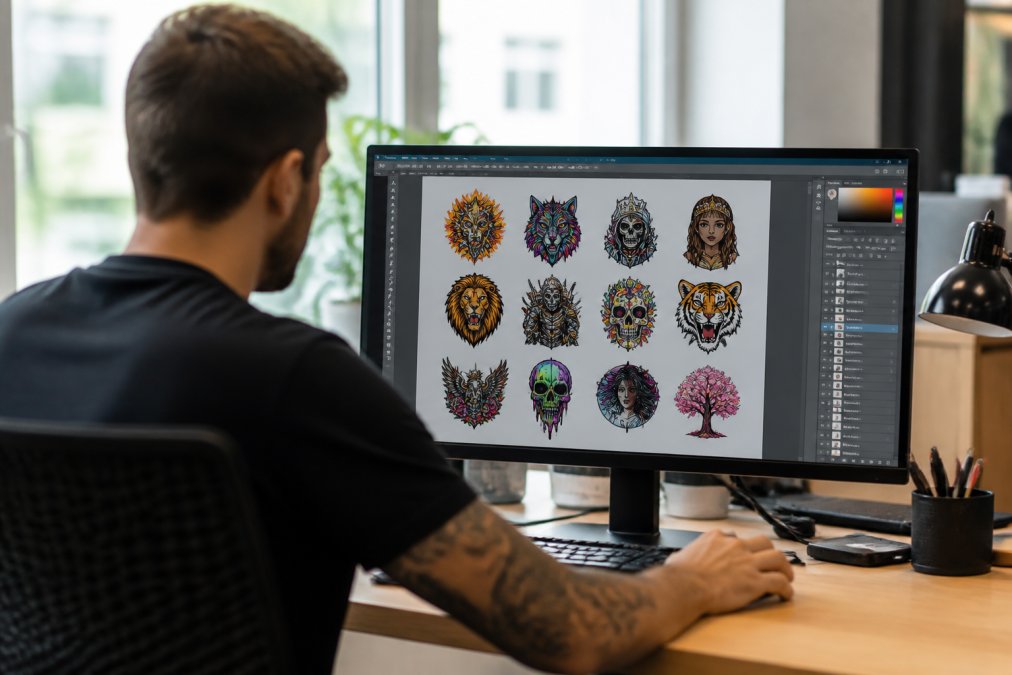
Open your software and create a new document with your gang sheet dimensions. In Photoshop, set the colour mode to CMYK and the resolution to 300 DPI immediately. In Canva, use the custom size option and input your exact dimensions in pixels. Name your file clearly: "GangSheet_A3_CMYK_v1.psd" or similar.
Step 2: Arrange Designs for Maximum Space
Import your designs onto the artboard. Leave at least 5 mm of margin around the artboard edge. Stack designs efficiently, interleave small logos and large graphics so small designs fill gaps between large ones. Group related designs together and check for overlaps. Designs must not touch; a 2 mm gap between designs is standard.
Step 3: Apply Transparent Background
Ensure every design has a transparent background. In Photoshop, delete the background layer or use the eraser tool. In Canva, use the transparency feature when uploading images. Test transparency by placing your design over a coloured background. If you see a white or solid-colour halo, refine the edges until the design sits cleanly.
Step 4: Export as PNG and Verify Settings
Export your gang sheet as PNG. In Photoshop, use File > Export As and select PNG format. In Canva, download your design as PNG. Before uploading to your printer, verify the exported file: all designs are visible and properly positioned, transparency appears as a checkerboard pattern, file size is reasonable (under 200 MB), and colours look accurate.
Troubleshooting Common Gang Sheet Upload Errors
Upload errors typically stem from file format, size, or metadata issues.
File too large: Your PNG exceeds your printer's upload limit. Reduce file size by removing unnecessary layers or splitting the gang sheet into two smaller sheets.
Transparency not recognised: Your printer sees a white background instead of transparency. Re-export as PNG and verify the background is truly transparent before uploading.
Colour profile mismatch: Your file is RGB but your printer requires CMYK. Convert to CMYK in Photoshop before exporting.
Resolution too low: Your DPI is below 300. Recreate the gang sheet at the correct resolution from the start.
Designs clipped at edges: Your artboard exceeds your printer's maximum size. Resize your gang sheet to fit and leave 5 mm margin on all sides.
DIY Gang Sheets vs Automated Gang Sheet Apps
Manual creation in Canva or Photoshop gives you complete control. You decide positioning, spacing, and design grouping. For small runs or highly customised merchandise, this flexibility is valuable.
Automated apps handle arrangement algorithmically. You upload designs, set constraints (margin, spacing, design size), and the app positions everything optimally. This saves time if you're processing dozens of gang sheets monthly, but charges per sheet or per design.
Consider your volume. Under 15 orders monthly: DIY in Canva or Photoshop. 15-50 orders monthly: evaluate automation apps and compare their pricing to your hourly labour cost. Over 50 orders monthly: automation is almost certainly worth it.
BB5wholesale offers an intuitive gang sheet builder that balances automation with control. You can arrange designs automatically or fine-tune positioning manually.
Creating DTF gang sheets is straightforward once you understand the technical requirements. Start with the right software, nail your colour profile and resolution, and verify your file before uploading. The difference between a rejected transfer and a perfect one often comes down to these details.
BB5wholesale's 24/7 support team can help troubleshoot upload issues or walk you through gang sheet setup. With fast door-to-door delivery and secure payment options, you can focus on designing while we handle production. Upload your gang sheet and get professional DTF transfers without the technical headaches.
=== FAQ ANSWERS (audit these too, same rules) ===
[1] Q: What is a DTF gang sheet and why should I use one? A: A DTF gang sheet is a single file containing multiple custom designs arranged together for efficient heat transfer printing onto apparel. Instead of printing each design separately, gang sheets allow you to print many designs at once, reducing production time and material waste. This is especially valuable for small business owners, Etsy sellers, and print shops handling multiple orders. Gang sheets maximise your print area and lower per-unit costs when producing custom apparel at scale.
[2] Q: Can I use Canva to create professional DTF gang sheets? A: Yes, Canva is an accessible option for creating DTF gang sheets, especially if you're new to design software. Set a custom artboard size matching your printer specifications, arrange designs with proper spacing, ensure a transparent background, and export as PNG. However, Canva has limitations with advanced colour profile management and scaling precision. For more complex multi-colour artwork or professional-grade control, Photoshop offers superior tools, though it requires a steeper learning curve.
[3] Q: What file format and resolution do I need for DTF transfers? A: Export your DTF gang sheets as PNG files with a transparent background at 300 DPI minimum for print quality. PNG preserves transparency essential for heat transfer printing. Pixel dimensions depend on your gang sheet size, calculate this based on your printer's specifications (typically A4 or larger). Avoid JPG format as it doesn't support transparency. Verify your export settings match print-ready standards before uploading to ensure colours render accurately and designs maintain sharpness.
[4] Q: What are common mistakes to avoid when creating gang sheets? A: Common errors include using RGB colour profiles instead of CMYK, which causes colour shifts during printing. Insufficient DPI (below 300) results in pixelated, low-quality transfers. Placing designs too close together causes bleeding or overlap issues. Using raster images instead of vector graphics limits scaling without quality loss. Forgetting transparent backgrounds adds unwanted white areas. Failing to verify file compression settings can corrupt your design. Always test a sample batch before committing to large orders, and maintain consistent spacing between designs to maximise your artboard efficiently.
Frequently Asked Questions
What is a DTF gang sheet and why should I use one?
A DTF gang sheet is a single file containing multiple custom designs arranged together for efficient heat transfer printing onto apparel. Instead of printing each design separately, gang sheets allow you to print many designs at once, reducing production time and material waste. This is especially valuable for small business owners, Etsy sellers, and print shops handling multiple orders. Gang sheets maximise your print area and lower per-unit costs when producing custom apparel at scale.
Can I use Canva to create professional DTF gang sheets?
Yes, Canva is an accessible option for creating DTF gang sheets, especially if you're new to design software. Set a custom artboard size matching your printer specifications, arrange designs with proper spacing, ensure a transparent background, and export as PNG. However, Canva has limitations with advanced colour profile management and scaling precision. For more complex multi-colour artwork or professional-grade control, Photoshop offers superior tools, though it requires a steeper learning curve.
What file format and resolution do I need for DTF transfers?
Export your DTF gang sheets as PNG files with a transparent background at 300 DPI minimum for print quality. PNG preserves transparency essential for heat transfer printing. Pixel dimensions depend on your gang sheet size, calculate this based on your printer's specifications (typically A4 or larger). Avoid JPG format as it doesn't support transparency. Verify your export settings match print-ready standards before uploading to ensure colours render accurately and designs maintain sharpness.
What are common mistakes to avoid when creating gang sheets?
Common errors include using RGB colour profiles instead of CMYK, which causes colour shifts during printing. Insufficient DPI (below 300) results in pixelated, low-quality transfers. Placing designs too close together causes bleeding or overlap issues. Using raster images instead of vector graphics limits scaling without quality loss. Forgetting transparent backgrounds adds unwanted white areas. Failing to verify file compression settings can corrupt your design. Always test a sample batch before committing to large orders, and maintain consistent spacing between designs to maximise your artboard efficiently.
This article was written using GrandRanker